Welcome to tutorial series of CREO 2.0. The basic thing which you need to convey message in the design engineering field is the drawing. The title block of the drawing contains the details of the drawing. The details of the drawing like part description, part code, drawn by, checked by etc.

For each and every drawing we don’t need to draw the title block each and every time. We just need to select the standard template once created in creo.
Do you know how to create a title block in a standard template? Just follow the following steps to learn how to create a template file in creo 2.
The template is created in .frm extension file in creo 2.0. Following is one example of creating the template in creo 2.0.

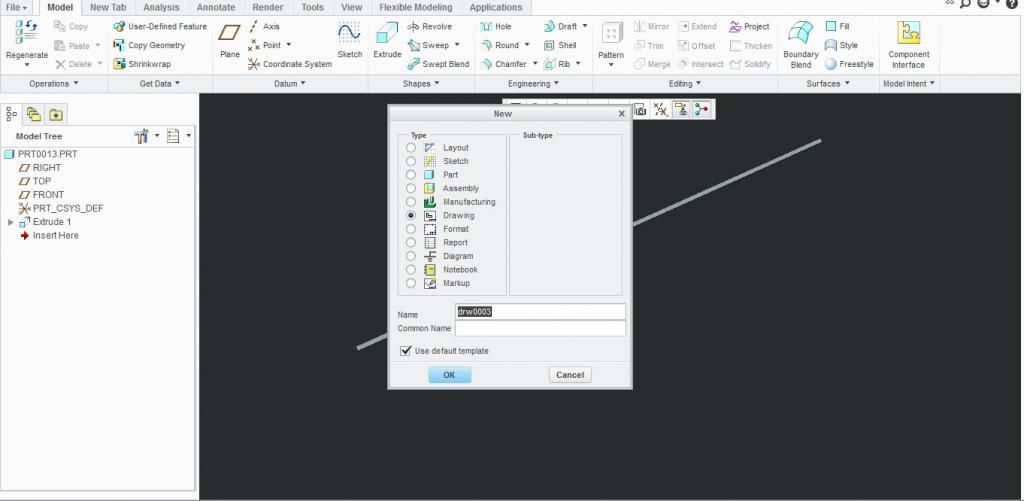
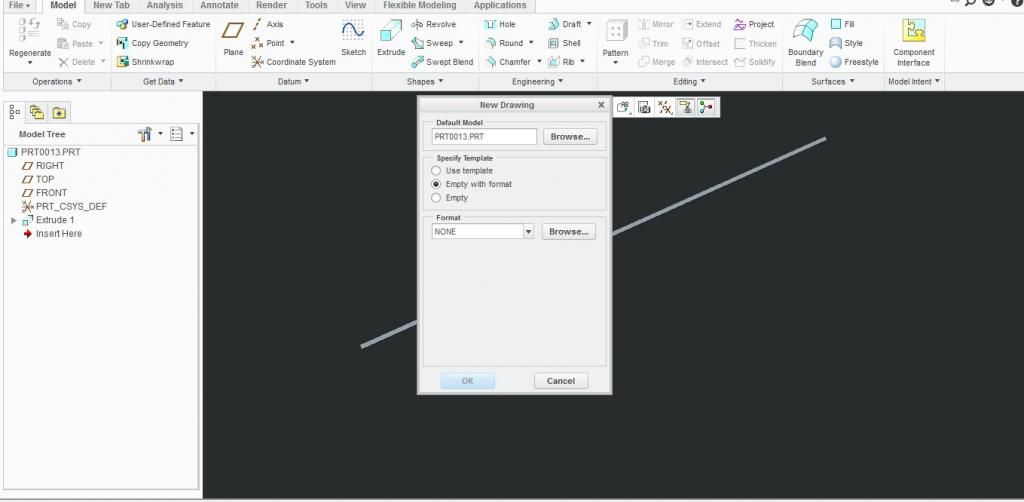
STEP 1 : Click on create a new file in creo and select on Format.

STEP 2 : Following window will get opened up. Now in the ribbon click on table tab.
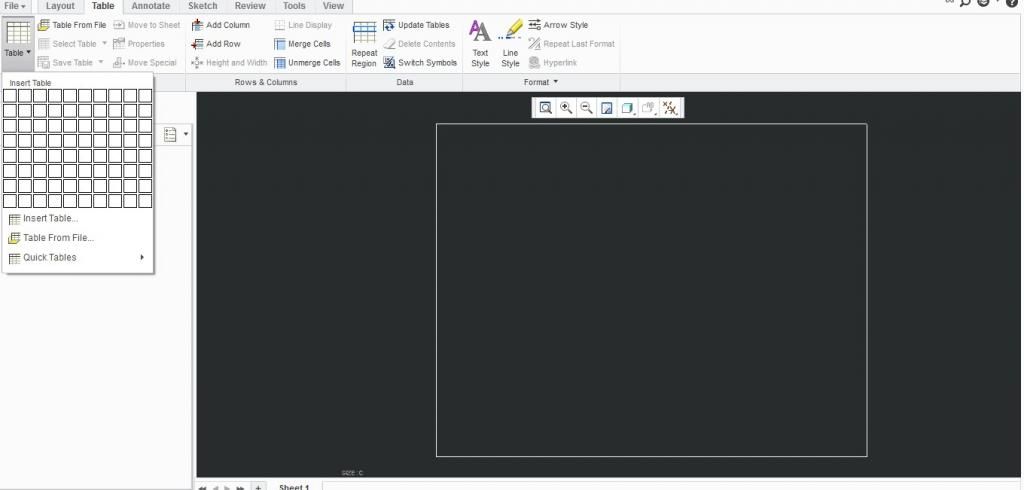
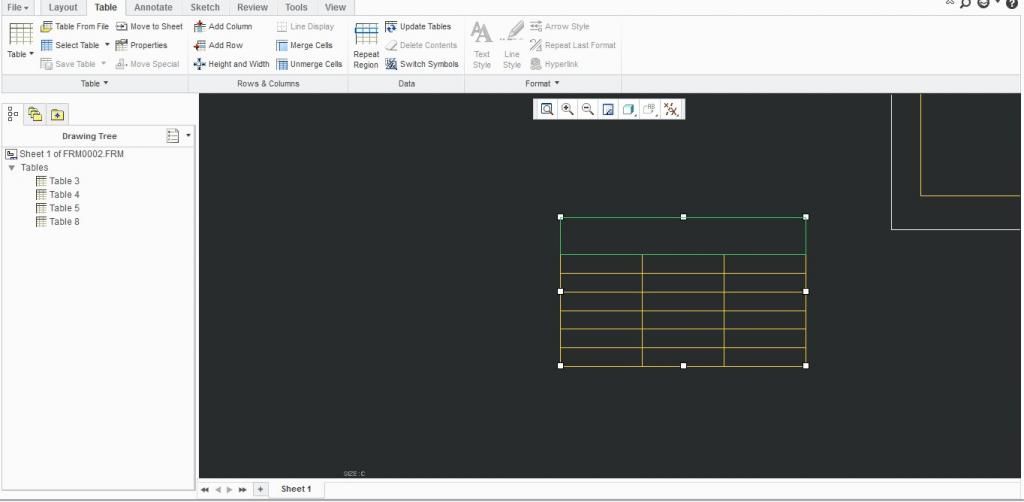
STEP 3 : Select one cell and you will find it in the screen as below.

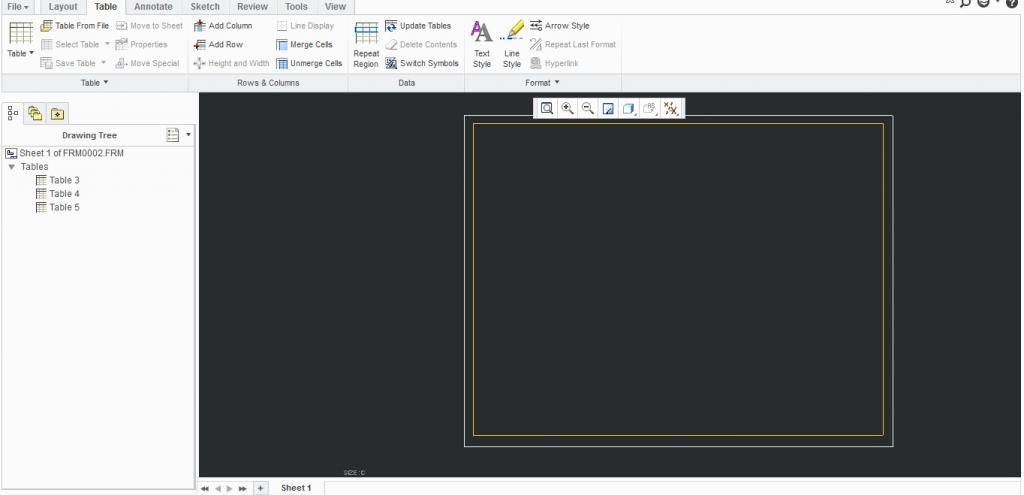
STEP 4 : Set proper width and height of the cell make a outline as shown below.
STEP : 5 Now we will create title block for it. Go to the ribbon and click on table tab.
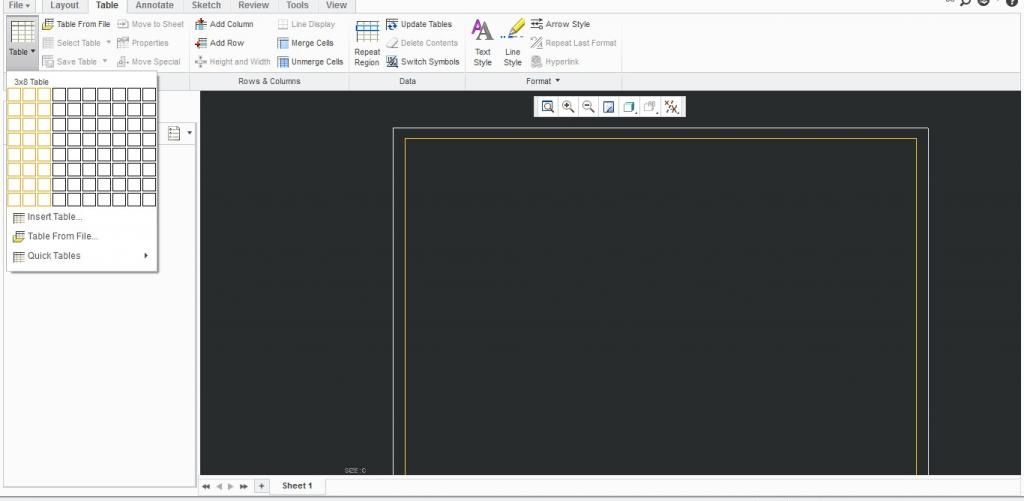
STEP 6 : Select the no. of Rows and Columns as per your requirement of the title block. Here we have selected 3 columns and 8 columns.

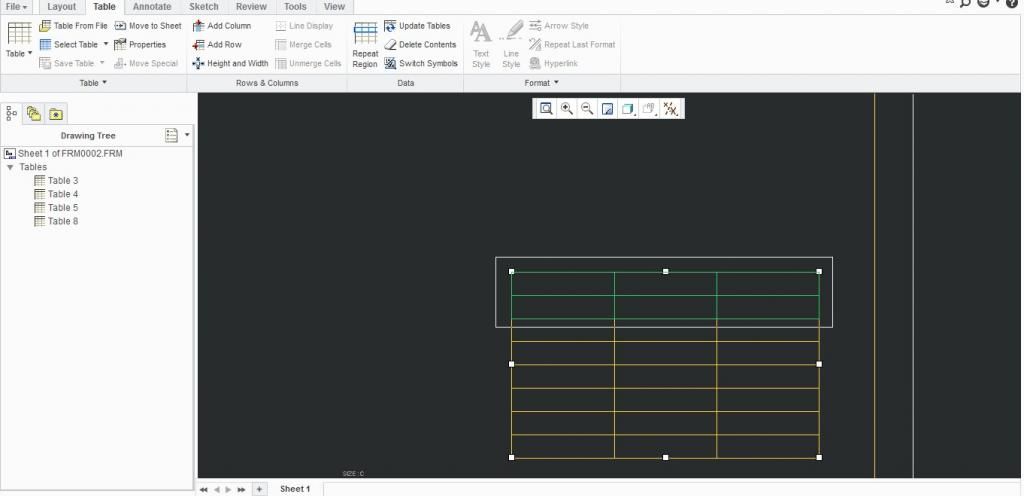
STEP 7 : Now merge the cells as per your requirement here we have selected the cells of first two rows and have merged them.
STEP 8 : Now fill in the required details in the title block like company name, part description, part no., drawn by, checked by, etc..


STEP 9 : Bingo! your template is ready and now you can create a drawing of the part using the template that you created.
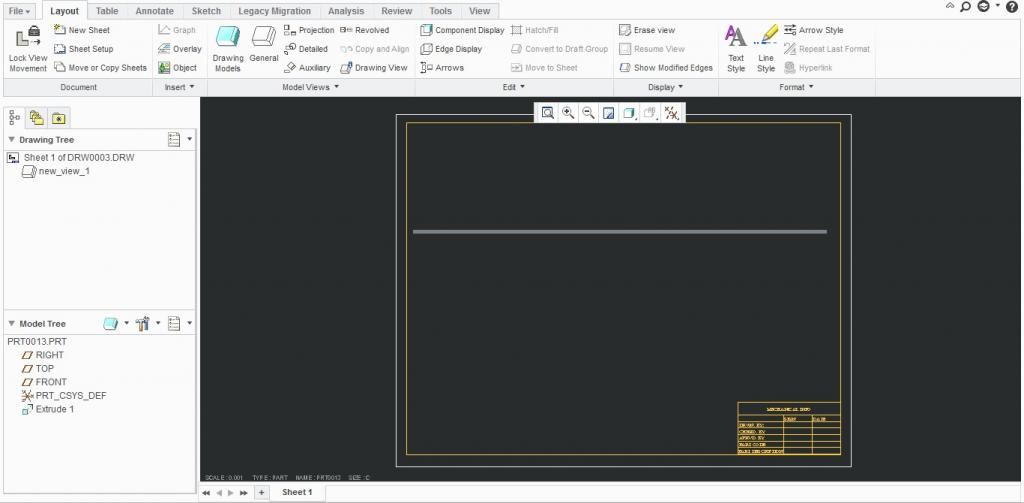
You can see in the above picture that the title block is updated in the drawing as we selected the template that we created.
STEP 10 : You can even add your logo of the company by clicking on the ‘object’ in the ribbon and by browsing bmp image
What do you think how was the tutorial? Do comment below. Share with your friends